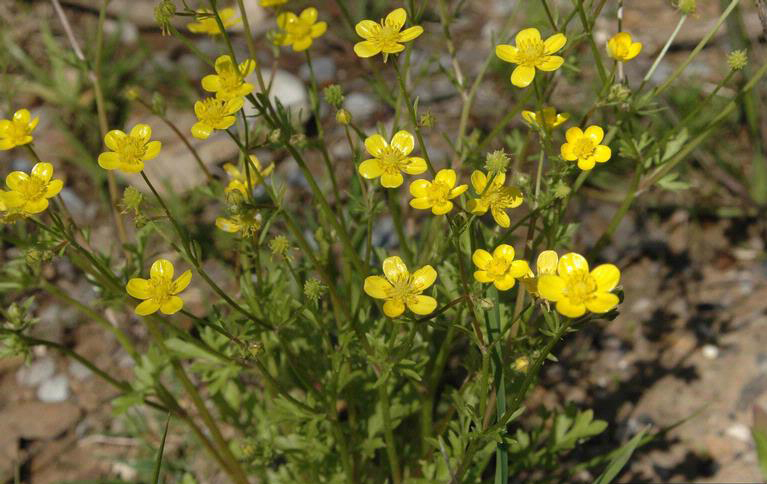


A weed seed bank is all of the viable weed seeds that have accumulated in a soil profile. Weed seeds can remain in the soil for varying lengths of time, from less than 1 year to several decades or more, waiting for the right conditions to germinate (light, temperature, moisture, scarification, etc.).
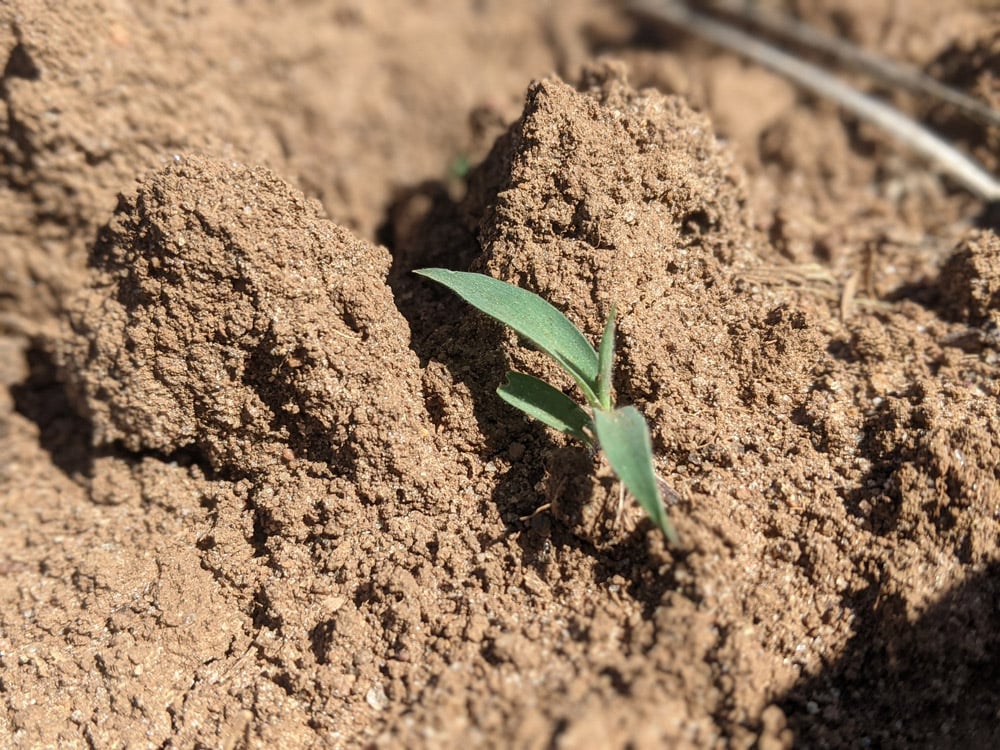
Determining a soil weed seed bank can aid in management decisions when purchasing or renting land, or in areas where you are unfamiliar with which weeds are present. Weed seed bank assessment helps to address potential weed issues in the field prior to the growing season.
Understanding the weed seed bank can help you determine which weeds you may encounter during the growing season and develop an integrated weed-management plan for that field. The goal of this resource is to provide an easy method to help you characterize your weed seed bank before the growing season, purchasing land, or breaking new ground.
Assessing the Weed Seed Bank
Related Content
The seed bank germination method is the easiest way to assess soil seed banks. This method gives you an idea of what weed seeds are present and ready to germinate in the soil. It requires minimal equipment and can be done on the farm. However, a key drawback of this method is that it does not account for dormant seeds in the soil.
Methods to assess all seeds in the seed bank are incredibly time-intensive, require additional equipment and knowledge, and only slightly increase the accuracy of the seed bank estimate. Seed bank germination also can be used in different seasons to help identify summer or winter weeds.
Follow the steps below to collect and assess a weed seed bank sample.
Step 1. Prepare to Collect a Sample
Gather all necessary equipment to take a seed bank sample (see Figure 1). This includes:
- a soil collection tool
- a large container—such as a 5-gallon bucket—to collect all the subsamples while out in the field
- several sealable gallon-size plastic bags
- greenhouse trays or something similar
- labels for the trays
- a sieve with screen (about 1/4-in. holes)
- a permanent marker
- sterile potting mix or other sterile potting media (vermiculite, perlite, sand)
Your soil collection tool—such as a soil probe, bulb planter, bucket auger, or other probe—should ideally have a diameter of 2 in. and allow you to extract soil to a depth of at least 4 in. The screen sieve should have openings large enough to break up any soil clods, but not so small that they prevent the seeds from passing through (a mesh with about a ¼-in. opening works well).
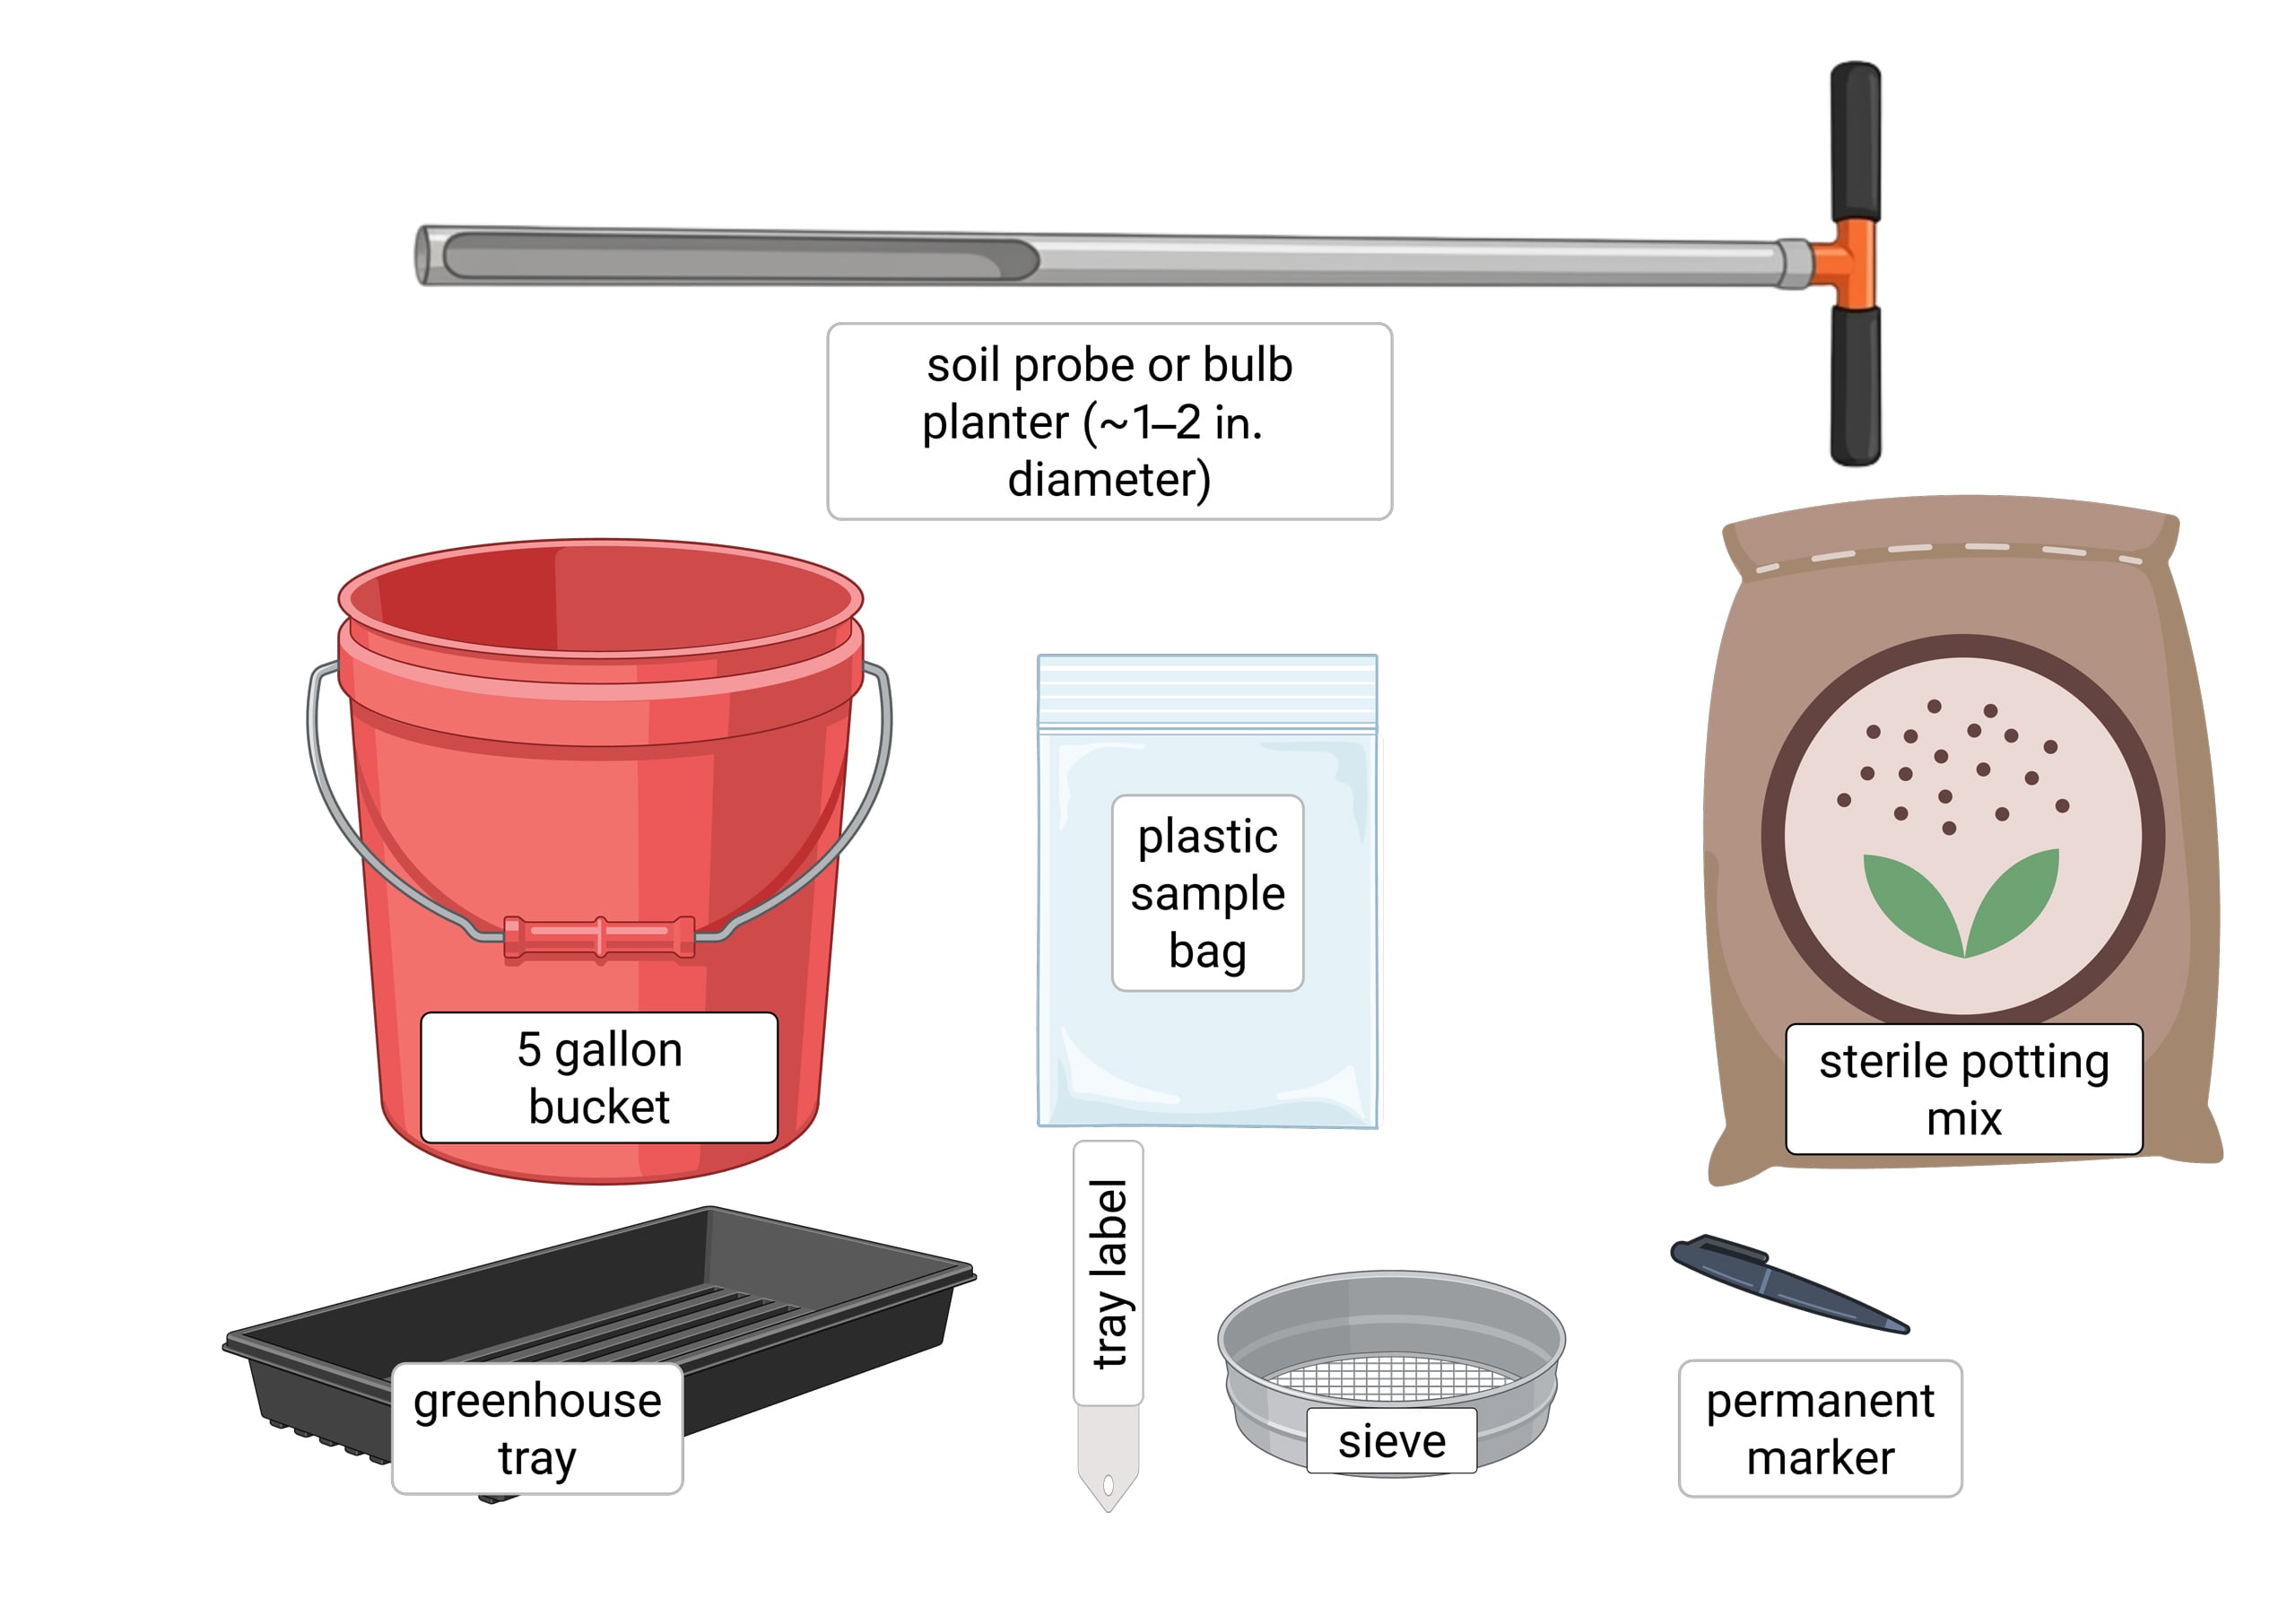
Illustration: Created in BioRender. Basinger, N. (2025) https://BioRender.com/zvmj8f1. Licensed under CC BY 4.0.
Step 2. Collecting the Soil Seed Bank Sample
The first step in collecting a seed bank sample is to take a representative sample from the area of interest. Before collecting any samples, decide if the field should be subdivided based on management or specific field characteristics (topography, soil type, previous crop, land disturbance, etc.).
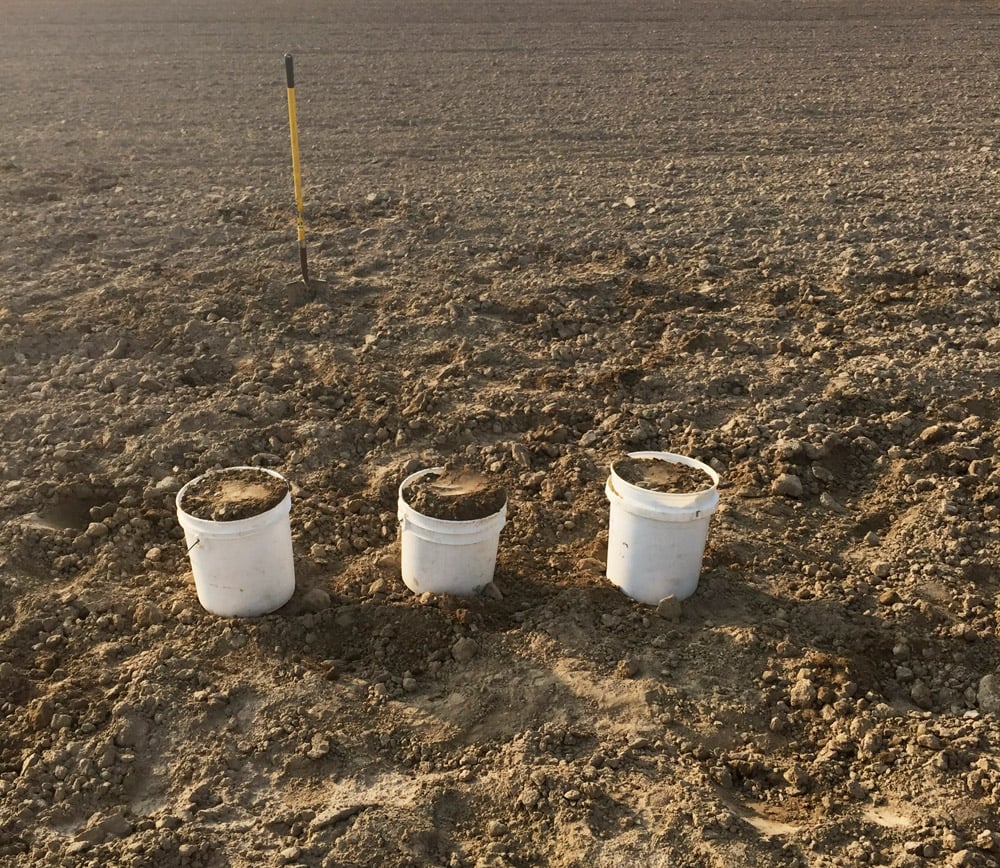
To obtain a comprehensive understanding of the soil seed bank, a representative sample must be taken. If targeting summer weeds, the best time to take a seed bank sample is in late winter or early spring. If targeting winter weeds, the best time to take a seed bank sample is in late summer or early fall. This will allow the seeds to undergo natural vernalization—such as a period of cold temperatures before warmer weather—that seeds require to break dormancy and trigger germination.
To collect a representative sample, walk across the field in a predictable pattern. Often, a zigzag, X, or grid pattern is best (Figure 2).
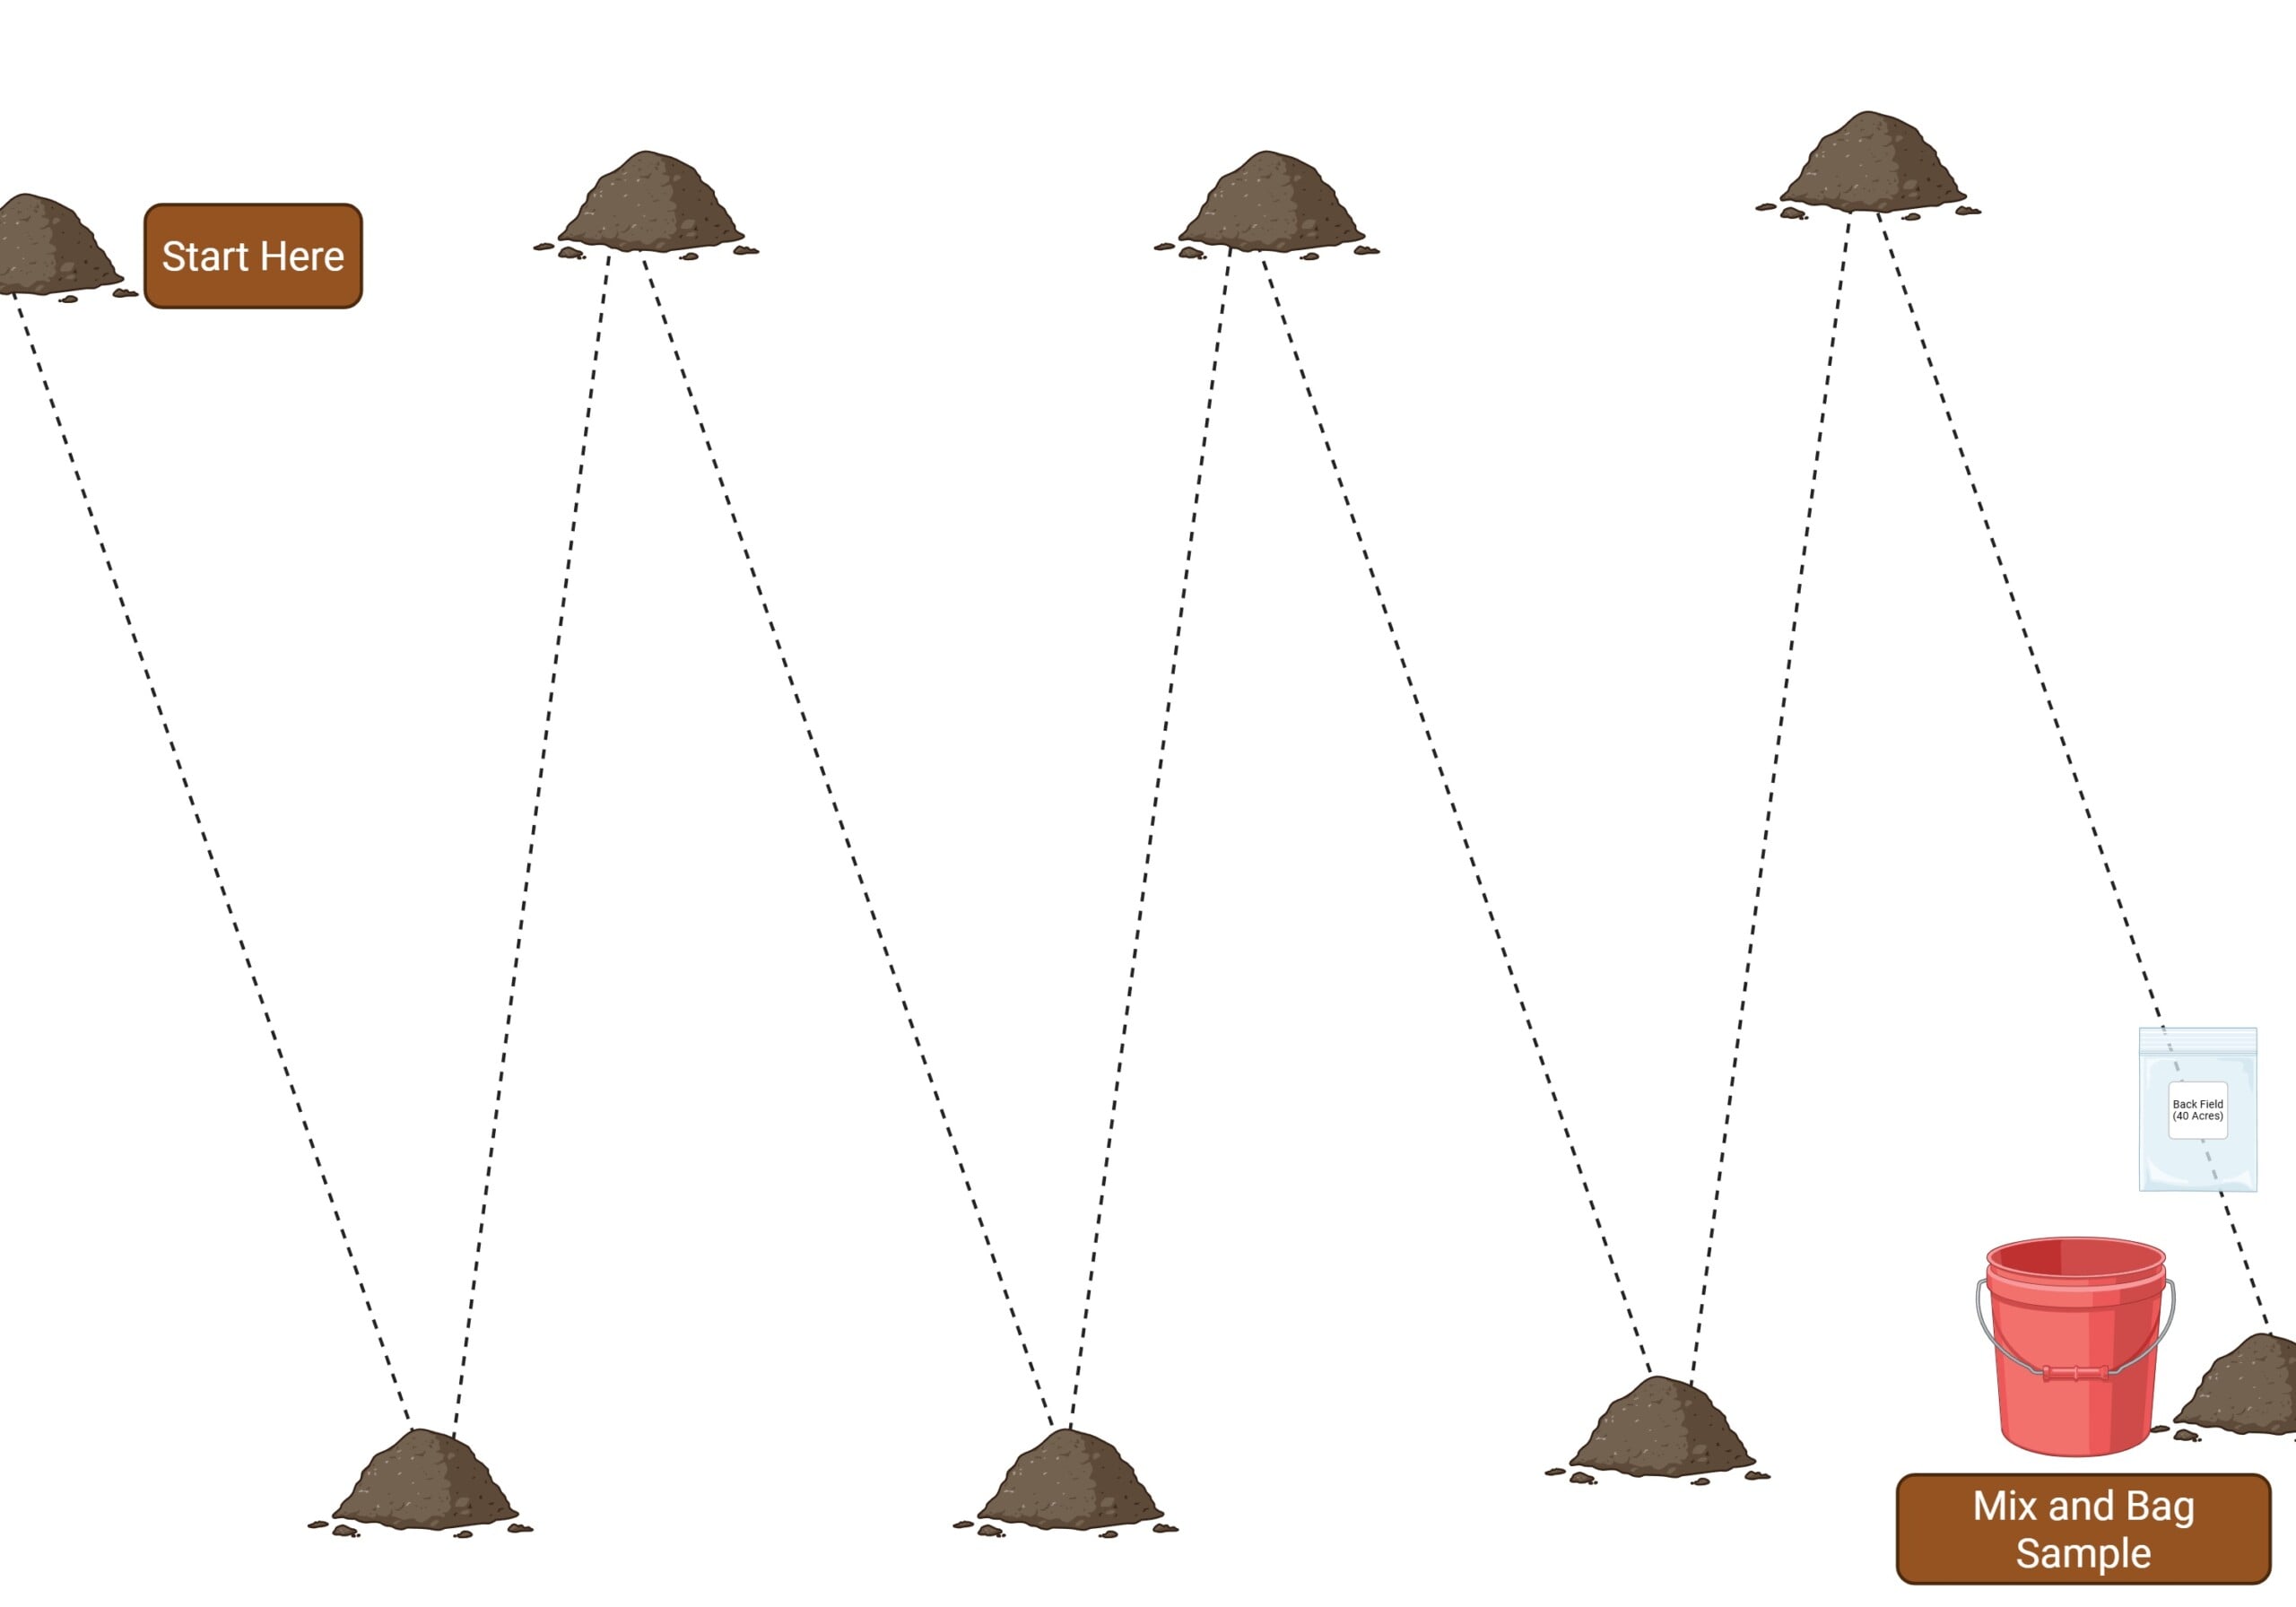
Illustration: Created in BioRender. Basinger, N. (2025) https://BioRender.com/8ydveni. Licensed under CC BY 4.0.
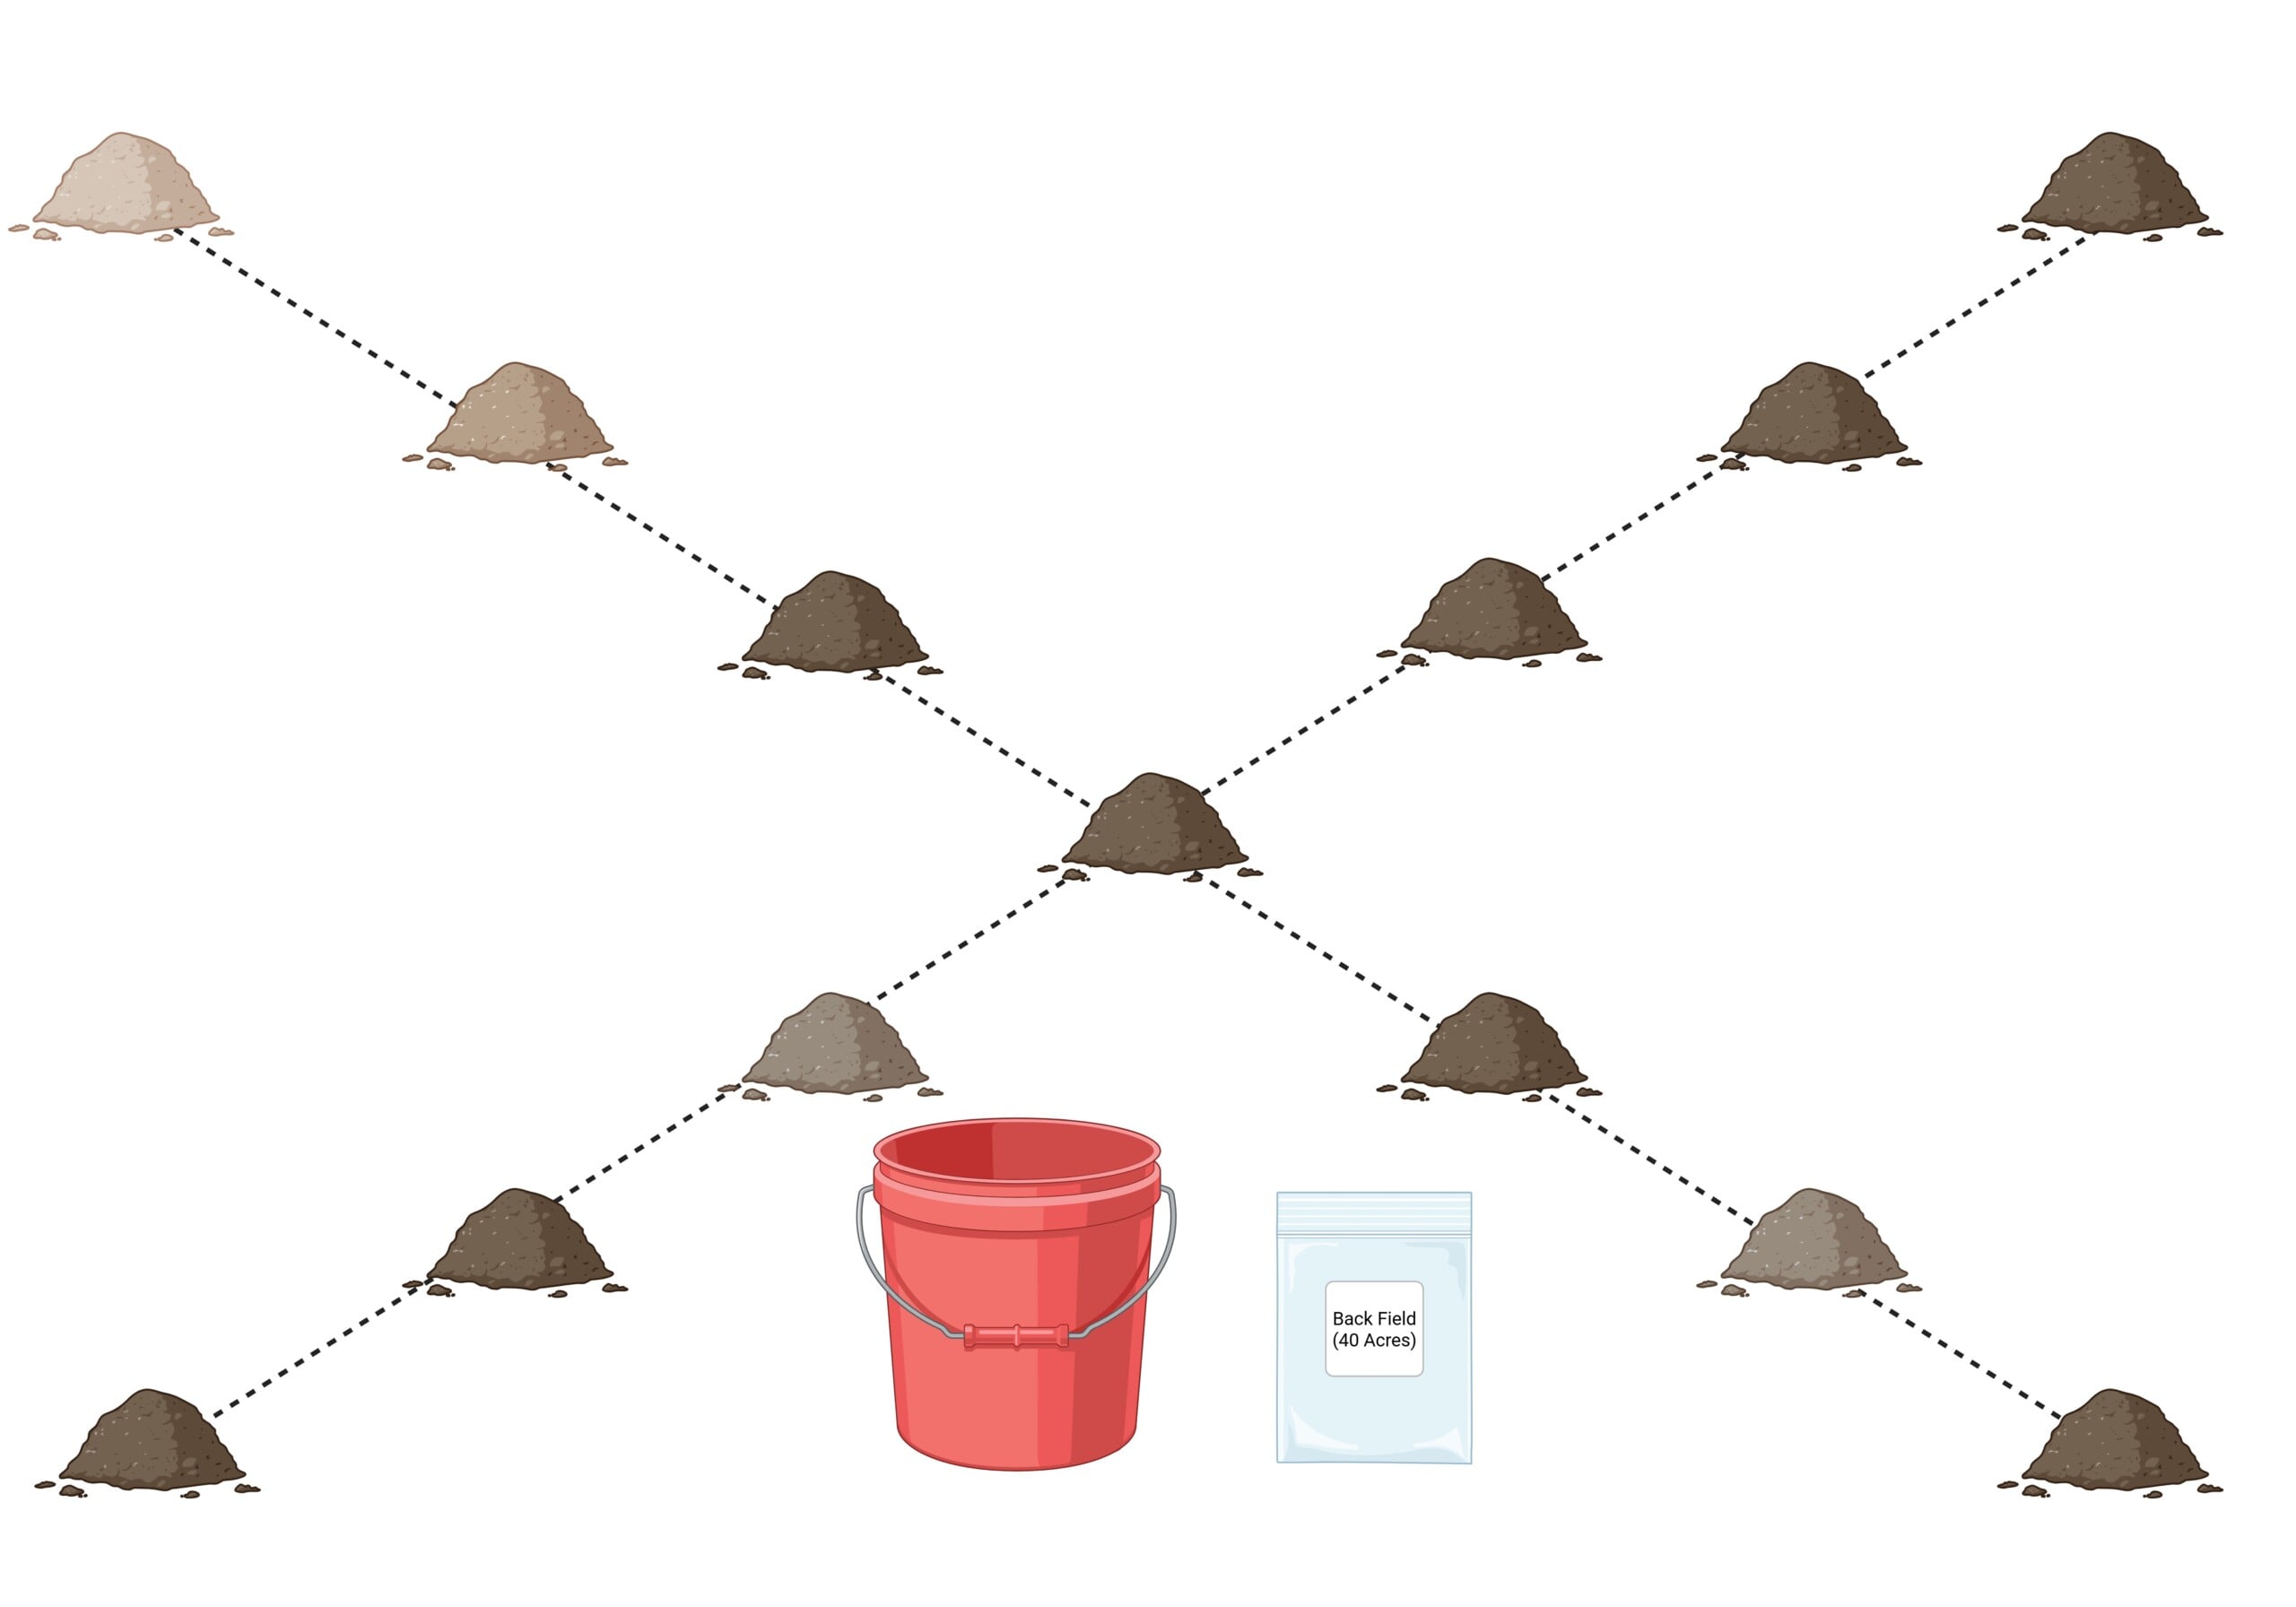
Illustration: Created in BioRender. Basinger, N. (2025) https://BioRender.com/qwbbkiv. Licensed under CC BY 4.0.
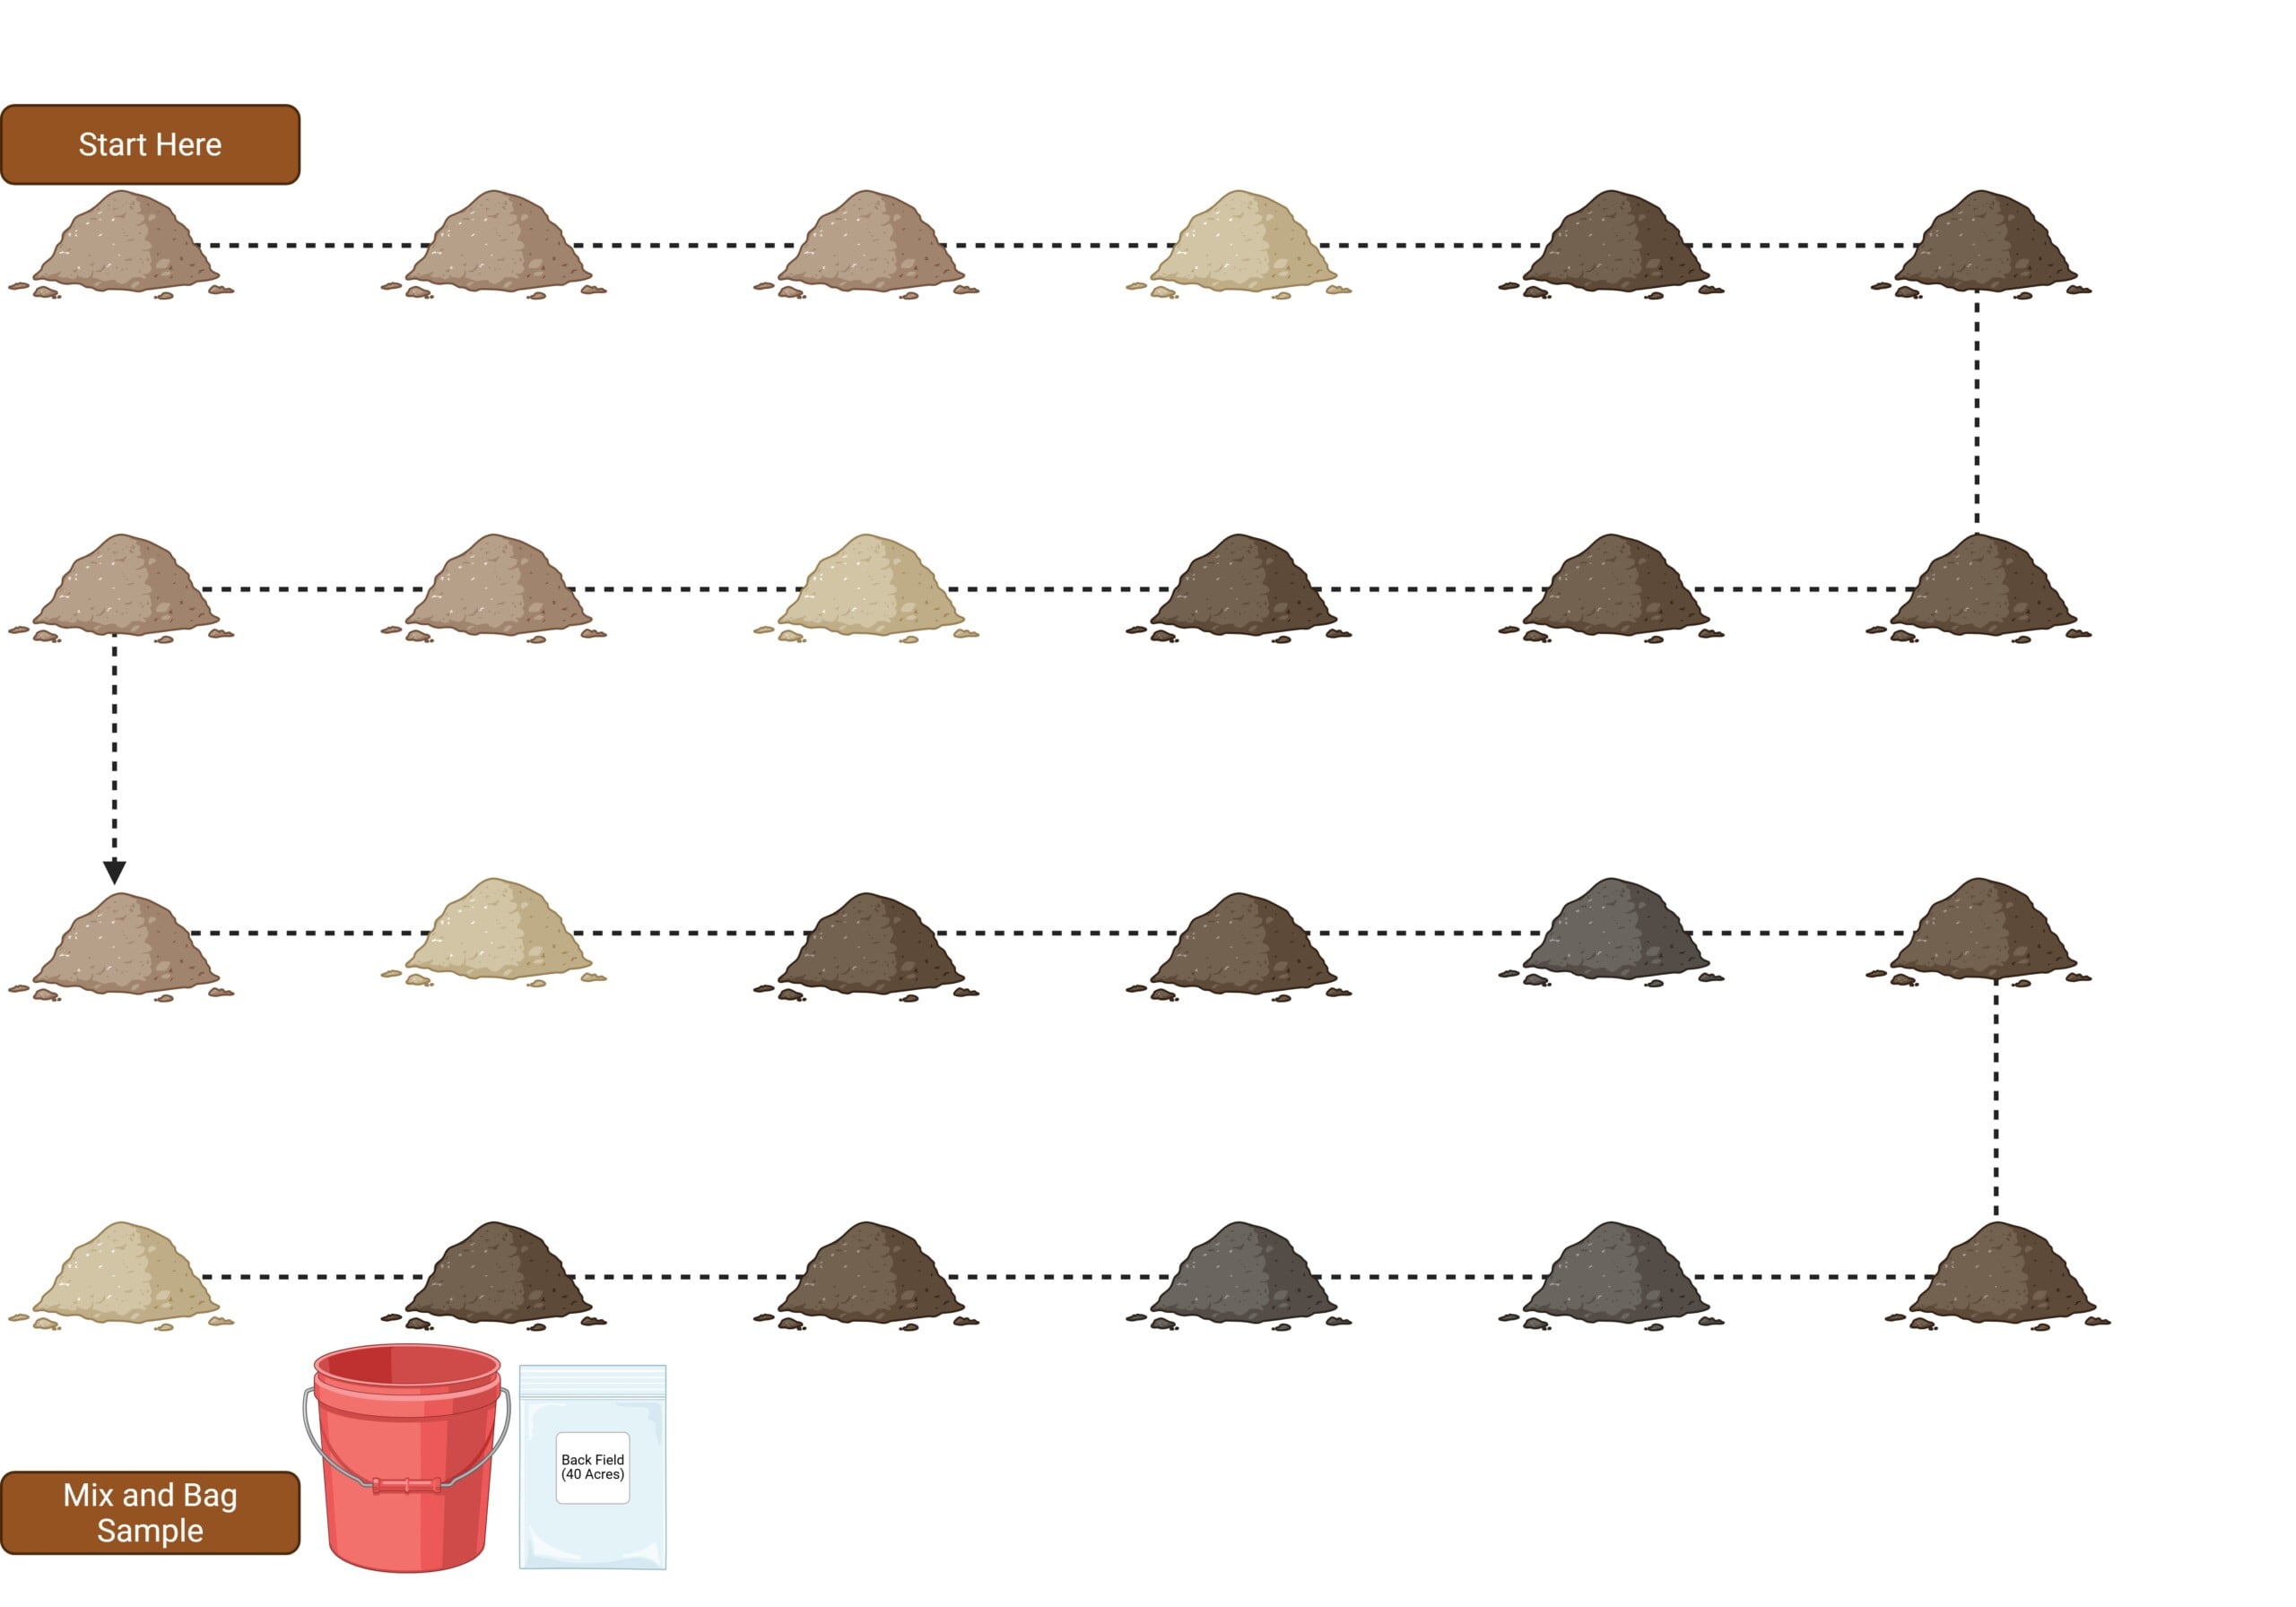
Illustration: Created in BioRender. Basinger, N. (2025) https://BioRender.com/etvyo68. Licensed under CC BY 4.0.
For most agricultural fields, 20–30 cores, each 2 in. in diameter and 4 in. in depth, will provide a good general idea of the weeds present in the field (Forcella et al., 1993). The more soil cores that are taken, the more accurate your estimation of the soil seed bank will be.
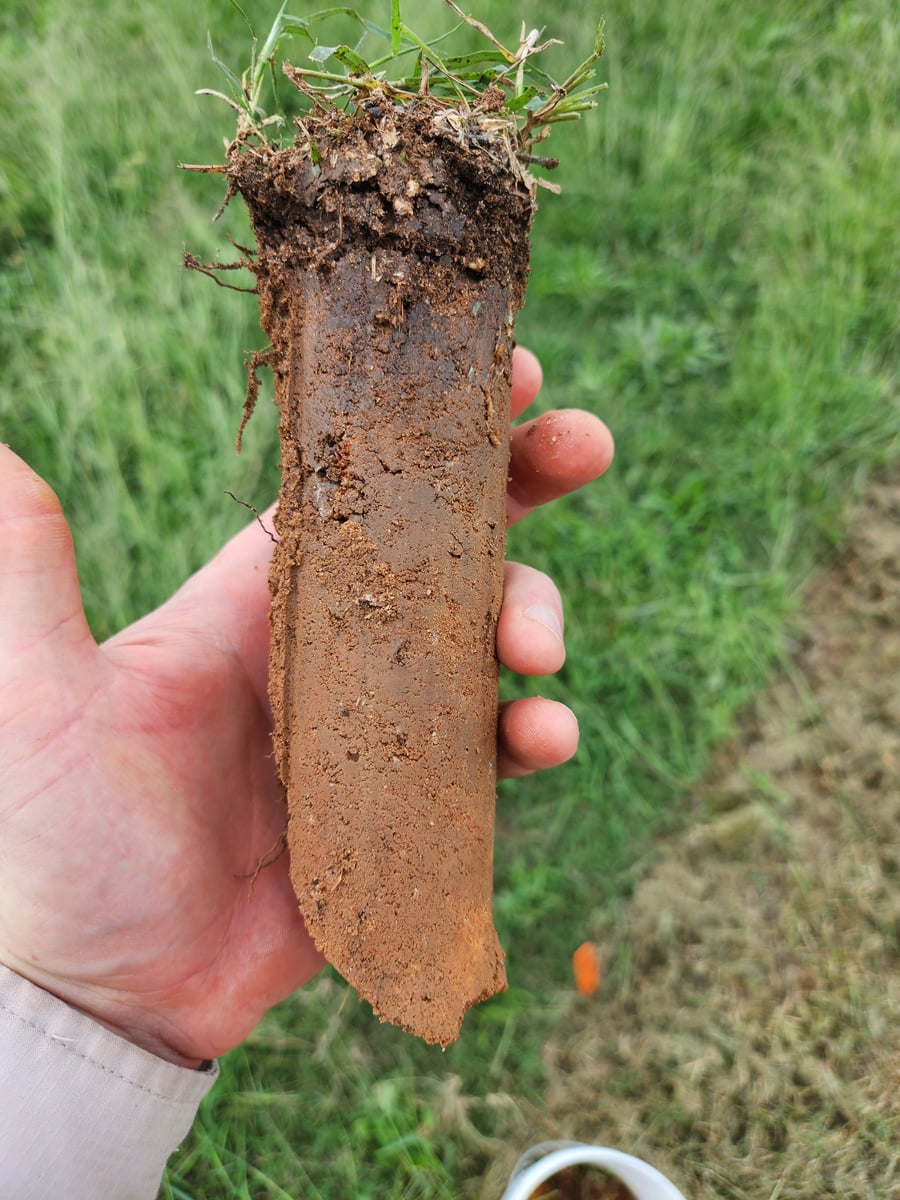
If using a larger-diameter soil core, fewer samples can be taken; if using a smaller-diameter core, increase the number of soil samples for each location. However, some plants that produce only a few large seeds (such as cocklebur or perennial tree species) may not be captured because the seed bank may contain few seeds.
To take the sample, push your 2-in.-diameter soil sampling probe into the soil approximately 4 in. Place the sample in a large container (a 5-gallon bucket is ideal). Take care to remove all the soil from the probe before pulling another sample.
Once you have collected all your samples for a single location and placed all the soil samples in your large container, then mix the soil thoroughly and pour it into a bag labeled with the sampling location. Once the sample is collected, place it in a cooler with ice packs—or at least keep it in the shade rather than in a hot vehicle or direct sunlight. Allowing the samples to become very hot could kill the weed seeds and affect the test’s accuracy.
Step 3. Prepare the Soil Samples
Next, you want to prepare the soil to create a clean sample. Pass the soil through the mesh sieve to remove rocks, sticks, chaff, and other debris (Figure 3). After sieving the soil, mix the soil thoroughly together from a single sample. This ensures you have a clean sample that is representative of one of your seed bank locations.

Place the sterile substrate (perlite, sand, or potting mix) on the bottom of the tray. Spread a ½ to 1-in. layer of the sieved field soil over the sterile substrate. To make it easier to remove or mix the sample, you can place a piece of landscape fabric between the soil and sterile substrate. This lets water flow through while keeping the soil sample on top of the substrate. Use a stake to mark the flat with enough information to help you identify the sample later.
Step 4. Place the Trays in a Location Conducive for Seed Germination
Place your greenhouse flats in a location with optimal light, temperature, and water. A greenhouse or hoophouse is ideal, but a warm windowsill will work, or any location where optimal growing conditions can be found or made. A temporary hoop house can easily be made for this purpose with some ½-in. PVC pipe, some clear plastic, and a few clips to keep the hoop cover closed on each end.
Ensure the soil remains moist during the evaluation. This may require watering two to three times a day, with more watering needed during hot months and less in the cooler fall and winter months.
Most weeds (about 70%) will emerge within the first 2–3 weeks of the grow-out process (Forcella et al., 2003). Seedlings should be identified and pulled as soon as they are identifiable. If small plants are not identifiable, they can be transplanted into small pots until they are more mature and easier to identify.
Once no further emergence occurs (usually after about 5 weeks), withhold water for 1–2 weeks, stir the soil, and begin the process again. Repeat the process until no further seeds emerge (about four to five cycles), or until you are satisfied with the data collected.
If desired, after two or three cycles, seeds can be further stratified. To do this, place the soil sample in a fridge at 40 °F for 3–4 weeks. During that period, about once a week, take the sample out of the fridge and bring it to room temperature, then put it back in the fridge. This procedure helps break the dormancy of seeds of some species and can help give you a more precise estimate of populations in the seed bank.
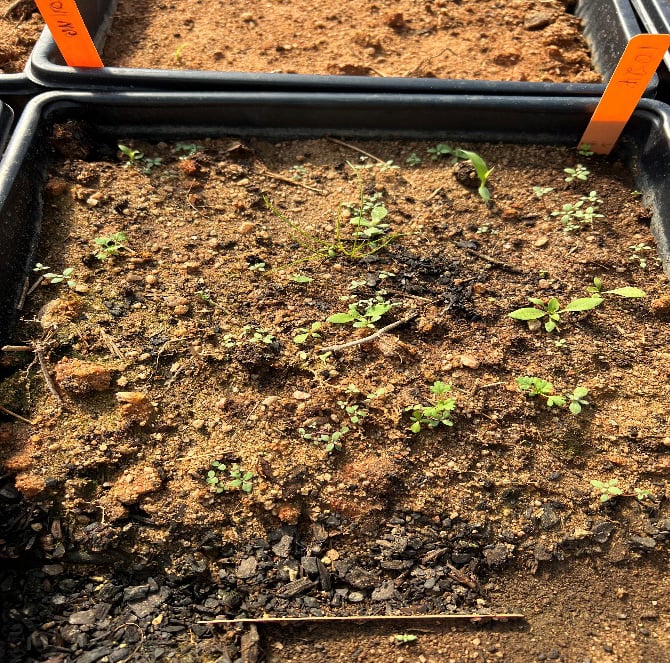
Photo: Tripp Smith.
Step 5. Identify the Emerged Weed Seedlings
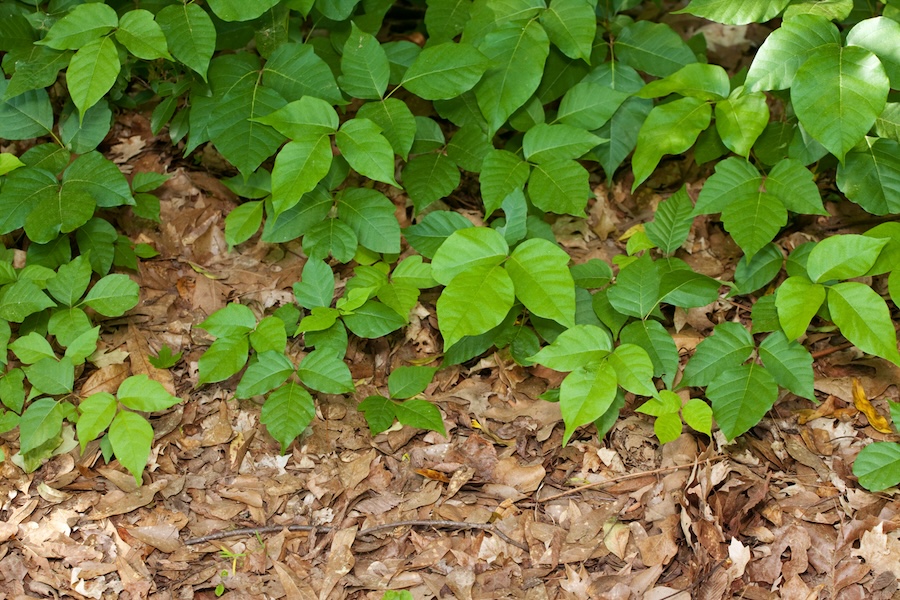
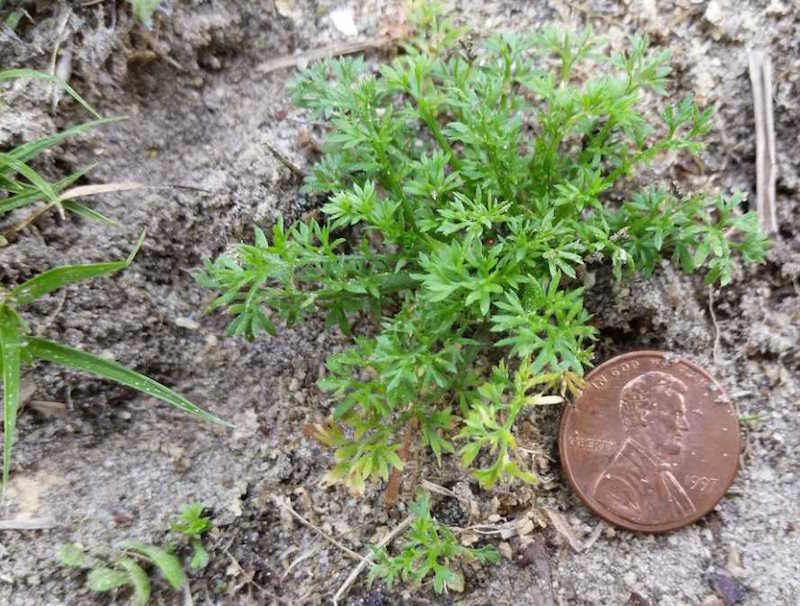
Identification of emerged weed seedlings can be difficult. Cotyledons (seed leaves) often look different from fully emerged true leaves. There are numerous references that can be used for weed identification.
Books
Weeds of the South (Bryson & Defelice, 2009) is an affordable resource that is frequently used for teaching introduction to weed identification. Additionally, Weeds of Southern Turfgrass (Murphy et al., 2004), Weeds of the Northeast (Neal et al., 2023), Weeds of the Midwestern United States and Canada (Bryson & Defelice, 2010), Weeds of the Great Plains (Stubbendieck et al., 2003), and Weeds of North America (Dickenson & Royer, 2014) are all fantastic books on weed identification and are tailored to various regions of the country.
Websites
Several great websites also can assist with weed identification. The University of Missouri Division of Plant Sciences and Virginia Tech (through its cooperative Extension service) have identification websites with lots of great images. Groups such as Getting Rid of Weeds (GROW), a scientist-led research team fighting against herbicide resistance, provide great sets of images and short clips on weed identification on their social media sites.
An extensive list of additional weed identification websites can be found on the Weed Science Society of America website. Furthermore, the U.S. Department of Agriculture plant database provides information on a wide range of plants, many of which are weeds.
Phone Apps
Phone apps, such as iNaturalist, Google Lens, Picture This, Leaf Snap, Pl@ntNet, and others, have been a great resource for identifying weeds. A word of caution: these apps can be pretty accurate or abysmally wrong. Generally, they can be used to help identify at least the family somewhat reliably. They tend to do a better job of identifying broadleaf weeds than grasses.
Identifying Grasses
Grass identification is more nuanced than broadleaf weed identification. To identify grasses, you need to know their various parts (seedheads, ligule, auricles, leaf blade, vernation, etc.). Often, you will need to let grasses grow past the cotyledon stage to see and properly identify these parts. There are several YouTube videos on how to do this properly, and the University of Missouri provides a website on the basics of grass identification.
Conclusion
The process of collecting samples for evaluation of a seed bank is a relatively simple task. Identification of the emerged seedlings may be more difficult. However, when you are armed with the knowledge of what weeds are present and at what levels, you can make better management decisions for your farm’s weed management. With this knowledge, managing weeds to deplete the seed bank can lead to a more prosperous and productive farming operation.
References
Bryson, C. T., & Defelice, M. S. (Eds.). (2009). Weeds of the South. University of Georgia Press. https://www.ugapress.org/9780820330464/weeds-of-the-south/
Bryson, C. T., & Defelice, M. S. (Eds.). (2010). Weeds of the Midwestern United States and Central Canada. University of Georgia Press. https://www.ugapress.org/9780820335063/weeds-of-the-midwestern-united-states-and-central-canada/
Dickenson, R., & Royer, F. (2014). Weeds of North America. The University of Chicago Press. https://press.uchicago.edu/ucp/books/book/chicago/W/bo17312322.html
Forcella, F., Eradat-Oskoui, K., & Wagner, S. W. (1993). Application of weed seedbank ecology to low-input crop management. Ecological Applications, 3(1), 74–83. https://doi.org/10.2307/1941793
Forcella, F., Webster, T., & Cardina, J. (2003). Protocols for weed seedbank determination in agro-ecosystems. In R. Labrada (Ed.), Weed management for developing countries: Addendum 1 (pp. 3–18). Food and Agriculture Organization of the United Nations. https://openknowledge.fao.org/server/api/core/bitstreams/53e1db92-0a66-4be8-aeca-e74ff05a7e8f/content/y5031e03.htm#bm03.1
Murphy, T. R., Colvin, D. L., Dickens, R., Everest, J. W., Hall, D., & McCarty, B. (2004). Weeds of Southern turfgrasses (Publication No. SB 31). University of Georgia Cooperative Extension.
Neal, J. C., Uva, R. H., DiTomaso, J. M., & DiTommaso, A. (2023). Weeds of the Northeast (2nd ed.). Cornell University Press.
Stubbendieck, J. L., Coffin, M. J., & Landholt, L. M. (2003). Weeds of the Great Plains (3rd ed.). Nebraska Department of Agriculture.